Create a new ViewItem
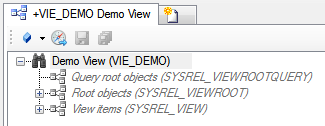
A View uses different ViewItems to evaluate Queries, Relations or References between MetaClasses per hierarchy level. The result is e.g. displayed in the View Test Environment.
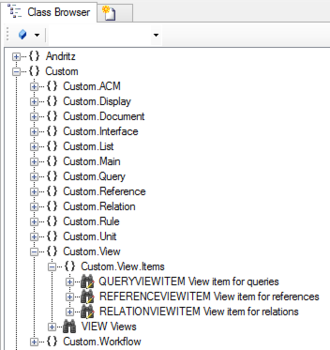
There are three different ViewItems in the namespace Custom.View.Items via the Class BrowserReferenceViewItem
Use this to evaluate hierarchy informations between objects using references:
- Create a new instance of a ReferenceViewItem using the Bulk Editor
- Set the name of the reference property in the REFERENCE cell
- Set the REVERSE checkbox if the ReferenceViewItem should be evaluated from right to left instead of left to right
- Assign a query instance of the ReferenceViewItem to the REVERSEREFTYPE attribute either by
- dragging and dropping a metaclass object onto the cell
- selecting the desired MetaClass from the dialog appearing after double-clicking the cell
RelationViewItem
Use this to evaluate hierarchy informations between objects using relations:
- Create a new instance of a RelationViewItem using the Bulk Editor
- Set the REVERSE checkbox if the RelationViewItem should be evaluated from right to left instead of left to right
- Assign a query instance of the RelationViewItem to the RELATION attribute either by
- dragging and dropping a relation object onto the cell
- selecting the desired Relation from the dialog appearing after double-clicking the cell
QueryViewItem
Use this to place a query within a view:
- Create a new instance of a QueryViewItem using the Bulk Editor
- Assign a query instance of the QueryViewItem to the QUERY attribute either by
- Drag and drop a query object onto the cell
- Select the desired Query from the dialog appearing after double-clicking the cell
For all ViewItems
- Set at least name and description
- The required ViewItem's must be added to the view with the Relation Editor.

- Save the changes with Ctrl+S or the save command


