Jump to: navigation, search

Difference between revisions of "RFID tags"


(Android)
Line 2: Line 2:
 
In order for the users to find objects more efficiently, {{UBIK}} objects can be marked with values for RFID codes. Whenever a user scans an optical code, the resulting code value can be used to find all matching objects, namely objects that have the [[#Technical_background|right property]].
 
In order for the users to find objects more efficiently, {{UBIK}} objects can be marked with values for RFID codes. Whenever a user scans an optical code, the resulting code value can be used to find all matching objects, namely objects that have the [[#Technical_background|right property]].
  
This feature is available since {{Version/Android|2.4.2}}.
+
This feature is available since {{Version/Android|2.4.2}} and {{Version/WinX|2.5.4}}.
  
 
== Configurable start screen RFID button ==
 
== Configurable start screen RFID button ==
Line 60: Line 60:
  
 
{{Category/Version|2.4.0}}
 
{{Category/Version|2.4.0}}
 +
 +
[[Category:2.4.0|RFID tags]]
 +
[[Category:Android|RFID tags]]
  
 
= WinX =
 
= WinX =

Revision as of 14:47, 31 October 2016

[edit]

Android

In order for the users to find objects more efficiently, UBIK® objects can be marked with values for RFID codes. Whenever a user scans an optical code, the resulting code value can be used to find all matching objects, namely objects that have the right property.

This feature is available since Version 2.4.2 - Android and Version 2.5.4 - WinX.

Configurable start screen RFID button

In order to use this feature, a RFID scanning entry point is provided using a configurable start start screen button. The following xml shows an example start screen configuration including RFID scanning entry point:

          <StartScreenConfiguration>
            <Tab caption="Content">
              <ContentBrowserButton caption="Content Browser"/>
              <RFIDScanButton caption="RFID Scan" />
            </Tab>
          </StartScreenConfiguration>

Scanning an RFID tag

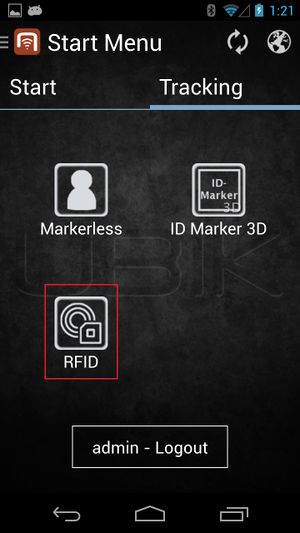
RFID button on Start Screen
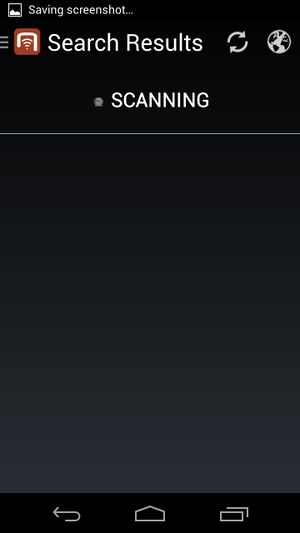
Scanning for RFID tag

Once the RFID button in the start screen is clicked, the corresponding RFID scanner starts. The user is then able to scan RFID tags continuously.

Presenting results of a search

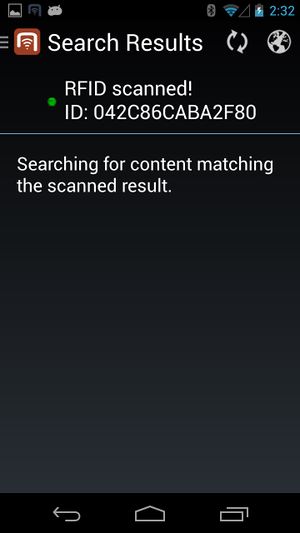
Searching for Objects
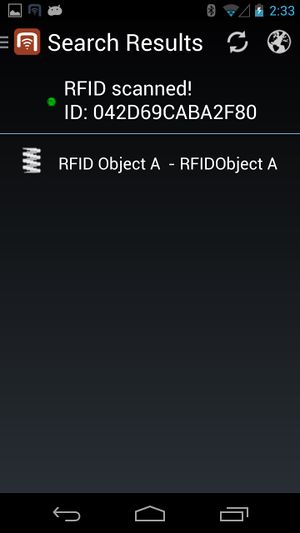
Displaying Objects
Displaying Objects
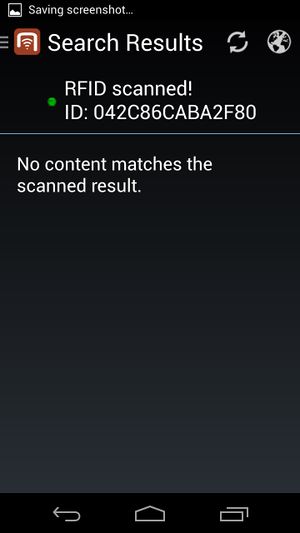
No corresponding Objects

Once an ID is scanned, UBIK® starts searching for objects with the scanned RFID.

  1. During the search, the list might show a searching text before any objects are found;
  2. If any objects are found, they will be displayed in a list. The users can then browse to any of the objects for more information by clicking on the objects;
  3. If no objects are found, the list will show a corresponding text.

Searching Mechanism

UBIK® provides two mechanisms for searching objects: online and offline.

Searching offline

In any case (regardless of the network connection and sync mode), UBIK® always goes through all the objects currently available on the device and find the ones that match the scanned results.

Searching online

When the Internet is avaiable and UBIK® is not running under offline mode, the search result is enhanced by online search. This means any objects that match the scanned results can be found even if they don't yet exist locally.

Technical background

In order for objects to be identifiable through RFID, they have to carry the SYSCLS OBJECTWITHRFIDTAG classification.

The service query used for online searching is SYSCLS RFIDTAGSCANQUERY.

See also

WinX

Scanning an RFID tag

Scanning for NFC tag

A NFC Scan button is shown in the Global App Bar if the device is capable of scanning NFC tags. Pressing the NFC Scan button enables/disables NFC scanning throughout the whole application. That means once the NFC scanning is activated, one can use the application just as usually while UBIK® scans for NFC tags in the background.

Presenting results of a search

No object found message
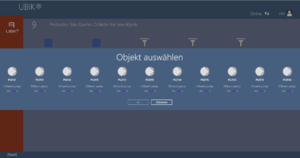
Multiple search results dialog

Once a tag is successfully scanned, an object search is executed based on the scanned text.

  1. if no objects are found a message is poping up at the right side of the screen.
  2. if more than one object is found the results are represented in a dialog along with their matching probability. One can than select one object that should be opened in the content browser.
  3. if exactly one object is found, this object is directly opened in the content browser.