
Install UBIK Web Service
Prior to the installation of an UBIK® Web Service make sure to have a Microsoft Internet Information Server (IIS) available and configured accordingly. If not check the instructions how to installinstall an IIS and how to configure for UBIK®.
Contents
Installing UBIK® Content Web Service
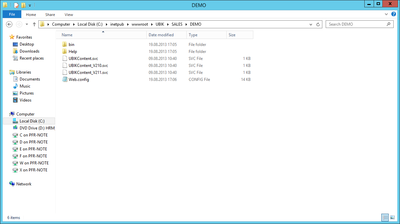
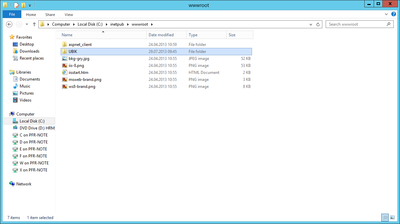
- Creating a new directory in the wwwroot directory of the IIS installation (default: c:\inetpub\wwwroot)
- Copying the components of the UBIK® Web Service into the (new) directory
- Configure the web service by changing parameters in the web.config file
- Create a new web applicaton as described here
Installing UBIK® Authentication Web Service
Configuration of the Web Server
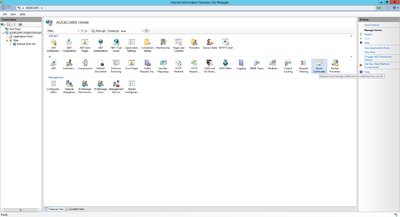
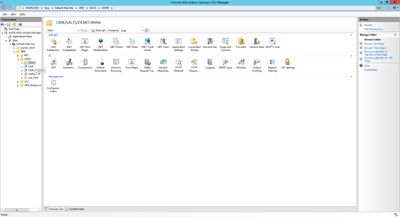
The web server can be configured using the Internet Information Services (IIS) Manager console, which gets installed automatically. The console provides a graphical user interface to manage and configure the web server accordingly to the UBIK® web service.
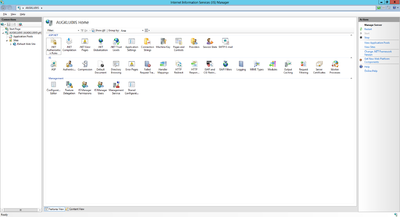
1 - IIS Manager

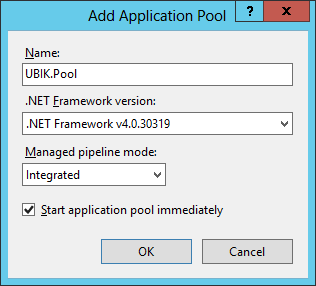
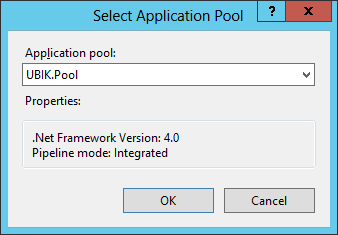
Add Application Pool
An application pool is a group of one or more URLs that are served by a worker process or a set of worker processes. Application pools set boundaries for the applications they contain, which means that any applications that are running outside a given application pool cannot affect the applications in the application pool.
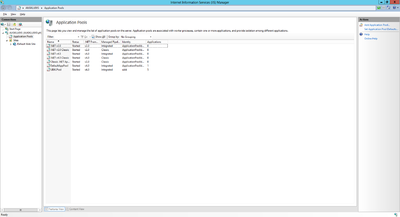
1 - Application Pool
2 - Application Pool
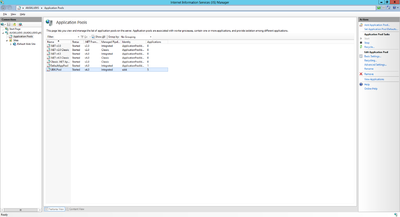
3 - Application Pool


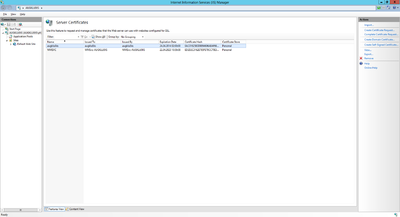
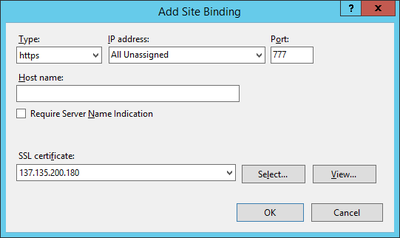
Certificate
The web service communicates with the UBIK® client via an secured connection, which requires a SSL certificate on the server and client side. Use a public key certificate from a certificate authority or a self-signed certificate, both will work for UBIK®. A new self-signed certificate can be created in the Internet Information Server (IIS) Manager, exported using the export function and sent to the development team. As already mentioned, the client has to know this certificate as well, hence it need to be integrated it into the mobile application.
| UBIK® requires a valid certificate for SSL encryption! |
1 - IIS Configuration
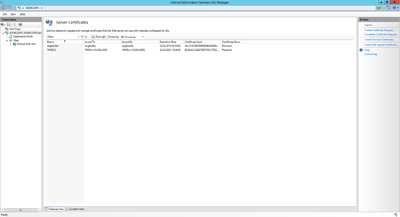
2 - Installed certificates
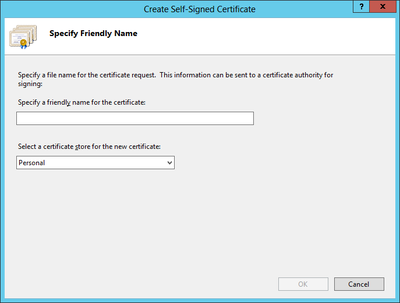
3 - Create self-signed certificate
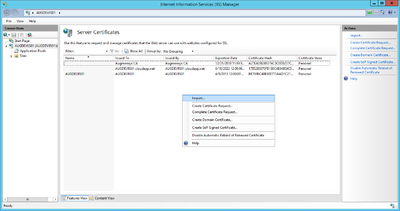
4 - Import certificate
5 - Installed certificates


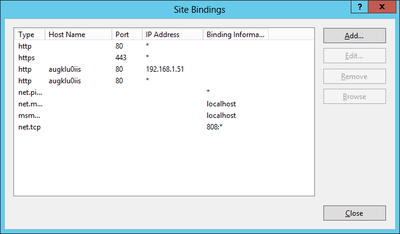
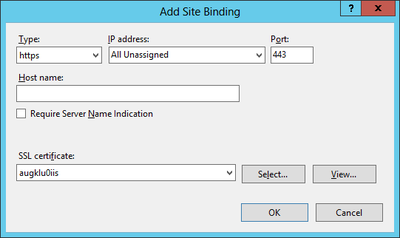
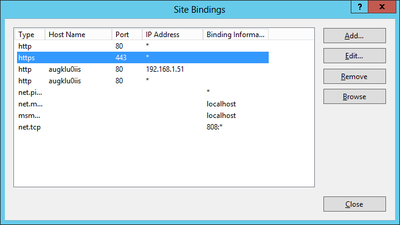
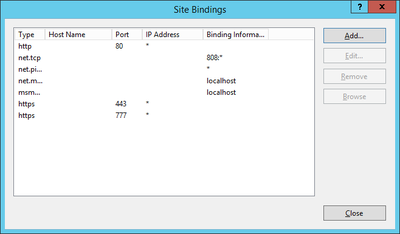
Bindings
Web sites and services have something called Server Bindings which represent the underlying address, port, and potentially a host header that the website is accessed using. The UBIK® client accesses the web service via a secured port (https), where it is necessary to configure the appropriate certificate.
For Android Clients
1 - Binding
2 - Binding
3 - Binding
4 - Binding


For Windows 8.1 Clients
1 - Binding
2 - Binding
3 - Binding
4 - Binding


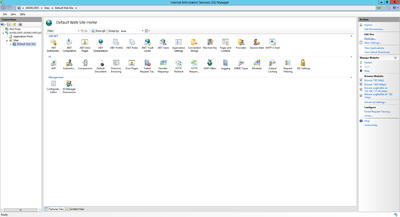
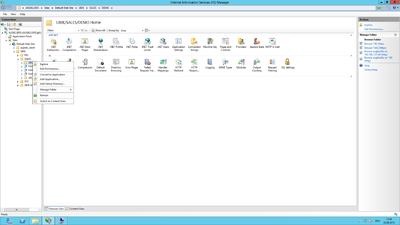
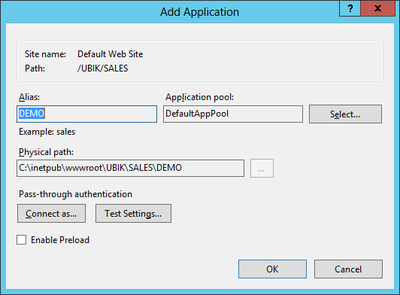
Create new Web Application
In the IIS Manager expand the Default Web Site node and navigate through the folder structure to the folder containing the UBIK® web service components.
1 - New Service
2 - New Service
3 - New Service
4 - New Service
5 - New Service
6 - New Service
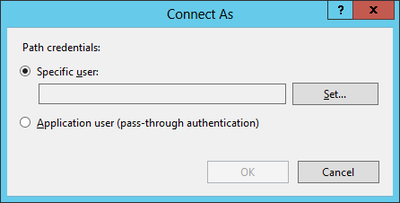
7 - New Service

8 - New Service
9 - New Service


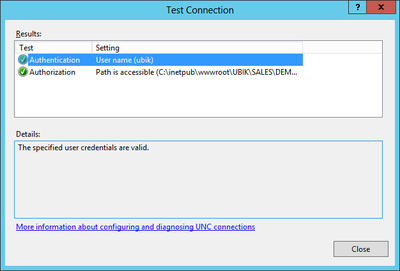
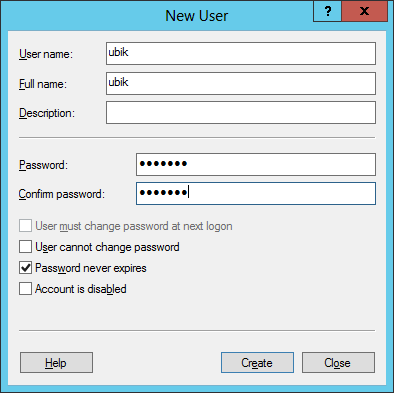
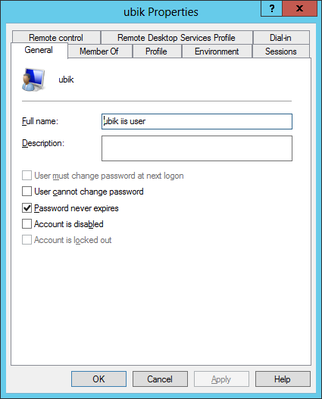
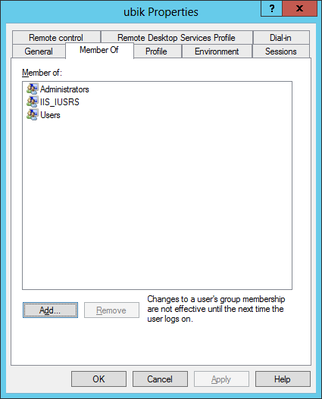
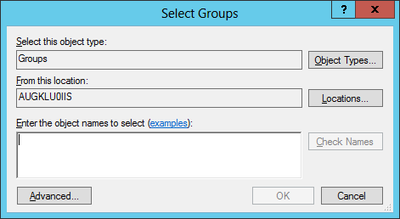
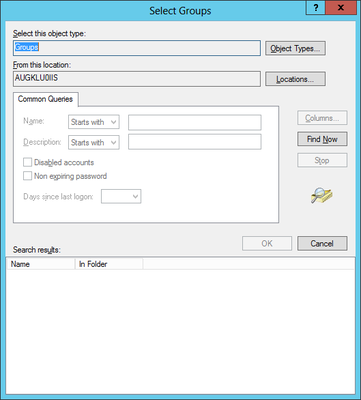
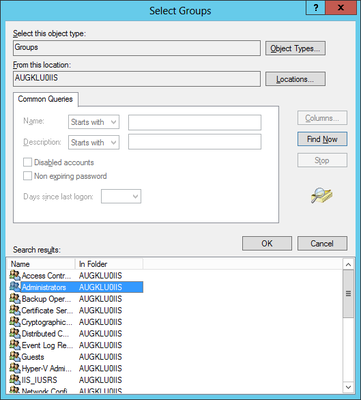
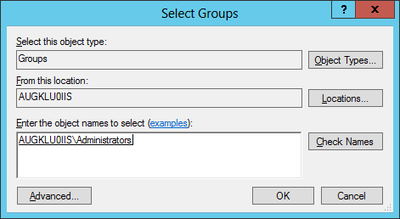
Optional: Local IIS User
Create and use a local user on the web server if no appropriate domain-user is available.
1 - Local IIS-user
2 - Local IIS-user
3 - Local IIS-user
4 - Local IIS-user
5 - Local IIS-user
6 - Local IIS-user
7 - Local IIS-user
8 - Local IIS-user

9 - Local IIS-user


Additional prerequisites
- Ensure that the service ports are not blocked by a firewall.
- Ensure that port forwarding is established if needed (e.g. for Microsoft Azure Virtual Computers or servers behind a gateway)
Testing the Web Service
Test the web service by entering the following URL in a browser:
https://<SERVER-IP>/<PATH-TO-UBIK-WEBSERVICE>/UBIKContent.svc/GetVersion