Difference between revisions of "HowTo:Assign an Icon to a MetaClass"
m (Text replacement - "{{UBIKSTUDIO}}" to "{{UBIK Studio}}") |
|||
| Line 1: | Line 1: | ||
| − | An icon can be assigned to a [[MetaClass]] so that objects of these class are represented by a small graphical symbol in {{ | + | An icon can be assigned to a [[MetaClass]] so that objects of these class are represented by a small graphical symbol in {{UBIK Studio}} as well as on the {{UBIKCLIENT}}. |
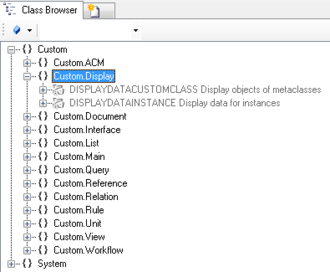
# Navigate to the MetaClass [[DISPLAYDATAMETACLASS|DISPLAYDATACUSTOMCLASS]] in the ''[[Class Browser]]''<br/>[[File:UI_DisplaydataCustomMetaClass_01.PNG|330 px|border|alt=DisplaydataCustomClass|DisplaydataCustomClass]] | # Navigate to the MetaClass [[DISPLAYDATAMETACLASS|DISPLAYDATACUSTOMCLASS]] in the ''[[Class Browser]]''<br/>[[File:UI_DisplaydataCustomMetaClass_01.PNG|330 px|border|alt=DisplaydataCustomClass|DisplaydataCustomClass]] | ||
Revision as of 18:33, 11 May 2015
An icon can be assigned to a MetaClass so that objects of these class are represented by a small graphical symbol in UBIK® Studio as well as on the UBIKCLIENT.
- Navigate to the MetaClass DISPLAYDATACUSTOMCLASS in the Class Browser
- Create a new instance of DISPLAYDATACUSTOMCLASS using the Bulk Editor
- Select an icon file by double-clicking the ICON attribute, which opens a dialog to select the desired file
- It is recommended to set at least name and description.
- Save the changes for the instance of DISPLAYDATACUSTOMCLASS with Ctrl+S or the save command
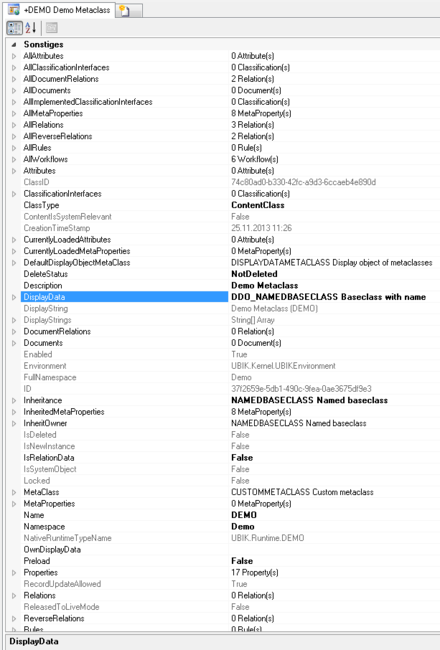
The newly created Display Data Object needs to be related to the DisplayData property of the according MetaClass:
- Connect the MetaClass to the Object Editor control
- Drag and drop the created custom DisplayData instance onto the DisplayData property


