Difference between revisions of "HowTo:Install Microsoft IIS"
(→See also) |
(→See also) |
||
| Line 33: | Line 33: | ||
== See also == | == See also == | ||
* [[Web Service]] | * [[Web Service]] | ||
| + | * [[HowTo:Configure_Microsoft_IIS_for_UBIK]] | ||
* [[HowTo:Install UBIK Web Service]] | * [[HowTo:Install UBIK Web Service]] | ||
[[Category:Installing]] | [[Category:Installing]] | ||
[[Category:How-To]] | [[Category:How-To]] | ||
Revision as of 08:24, 19 March 2015
Install the necessary server roles and features for an Internet Information Server (IIS) on a Microsoft Server 2012.
Install server role
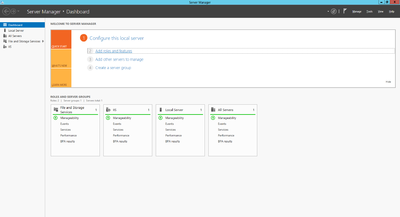
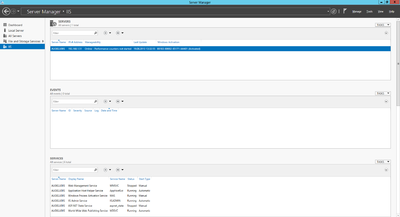
Start the server manager to install the Internet Information Services (IIS) on Windows Server 2012 by
- Clicking the Windows Start button, point to Administrative Tools and choose Server Manager
- Clicking on Roles Summary
- Clicking on Add Roles
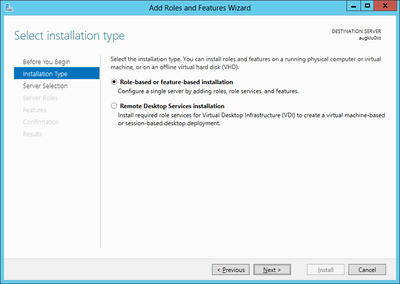
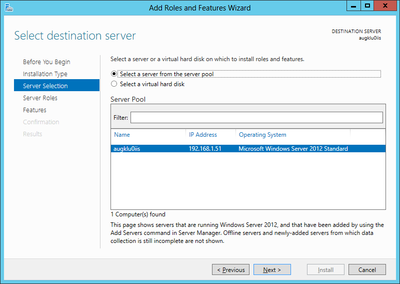
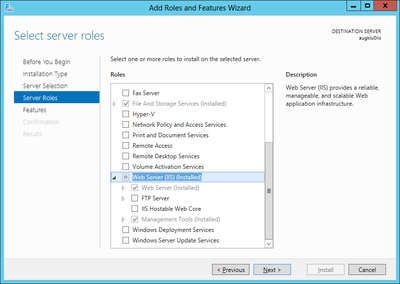
- Use the Add Roles wizard to add the web server role
Required roles and features
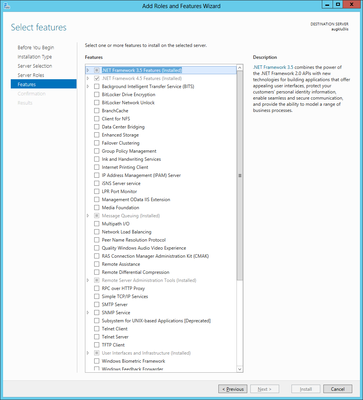
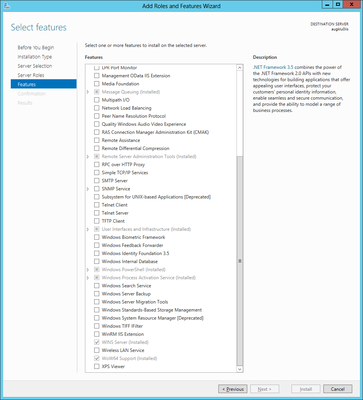
The Add Roles wizard installs only the default set of role services, which do not contain all the necessary features required for UBIK® web services. Therefore, additional IIS role services and features, such as Application Development or Health and Diagnostics, needs to be selected in the Select Role Services page of the wizard.
UBIK® web service requires at least the following roles
- Microsoft .NET Framework 4
- Microsoft .NET Framework 3.5
- Webserver Application Development
and features
- HTTP Actication (WCF Services)
Using a virtual server
A physical server with Microsoft Server 2012 can be used as the host system as well as a virtual server. Use Hyper-V to install and operate serveral virtual servers and proceed with the web server installation similar as for a physical server.

