
Configure Microsoft IIS for UBIK

The web server can be configured using the Internet Information Services (IIS) Manager console, which provides a graphical user interface to manage and configure the web server accordingly for the UBIK® web service.
Contents
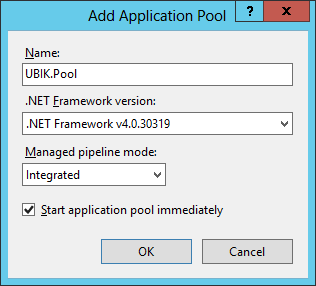
Add Application Pool
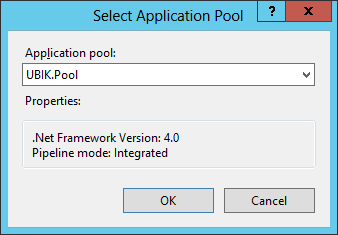
An application pool is a group of one or more URLs that are served by a worker process or a set of worker processes. Application pools set boundaries for the applications they contain, which means that any applications that are running outside a given application pool cannot affect the applications in the application pool.
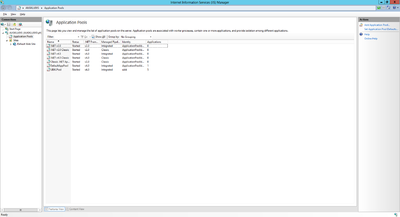
1 - Application Pool
2 - Application Pool
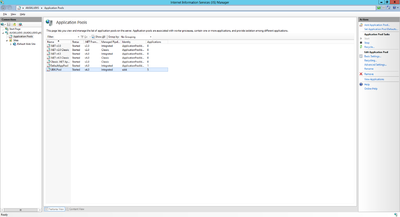
3 - Application Pool


| If a local user is used it must be set at the Identity parameter of the Application Pool. |
Certificate
A secure connection between the UBIK® clients and web service requires a SSL certificate on both, the server and client. This certificate can either be a root authority certificate, or any other public key certificate from a certificate authority enabling a secured connection between the web service and the clients. Self-signed certifcates will be rejected by the client
A new self-signed certificate can be created in the Internet Information Server (IIS) Manager, exported using the export function and sent to the development team. As already mentioned, the client has to know this certificate as well, hence it need to be integrated it into the mobile application.
| UBIK® requires a valid certificate for SSL encryption, free certifcates can be obtained e.g. from Let's Encrypt! |
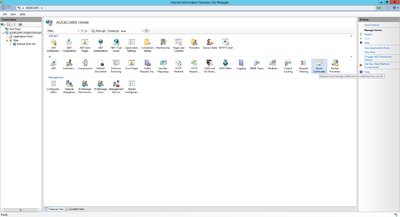
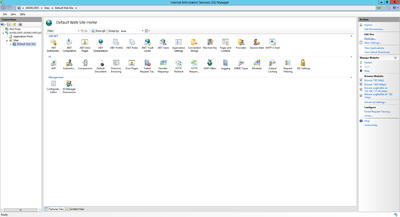
1 - IIS Configuration
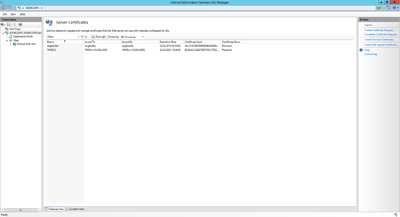
2 - Installed certificates
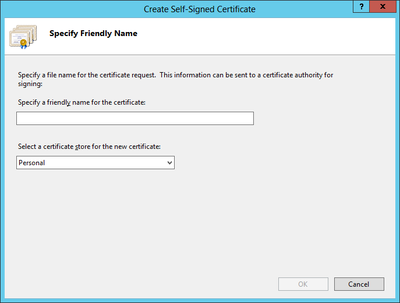
3 - Create self-signed certificate
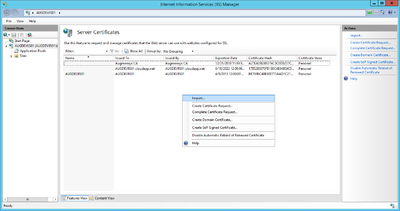
4 - Import certificate
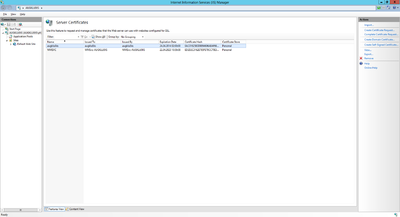
5 - Installed certificates


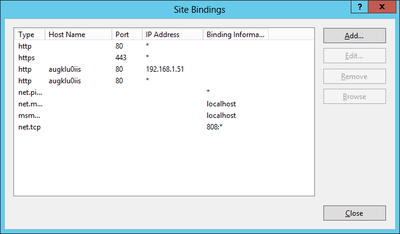
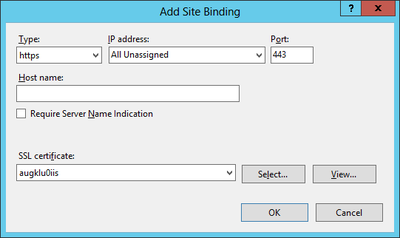
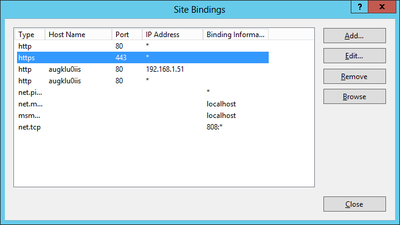
Bindings
Web sites and services have something called Server Bindings which represent the underlying address, port, and potentially a host header that the website is accessed using. The UBIK® client accesses the web service via a secured port (https), where it is necessary to configure the appropriate certificate.
For Android Clients
1 - Binding
2 - Binding
3 - Binding
4 - Binding


For WinX and Web-Client
1 - Binding
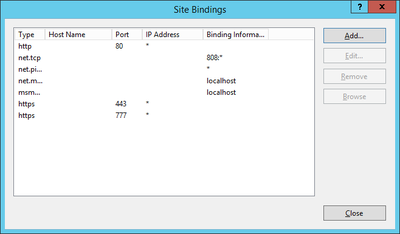
2 - Binding
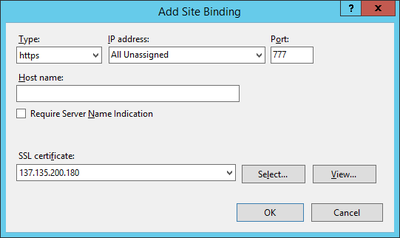
3 - Binding
4 - Binding


Configure compression
Web service responses can be compressed in order to improve performance and reduce web traffic. This can be easily done from the web server side in IIS manager.
| In case the compression modules are not yet installed, please refer to [this] for instructions. |
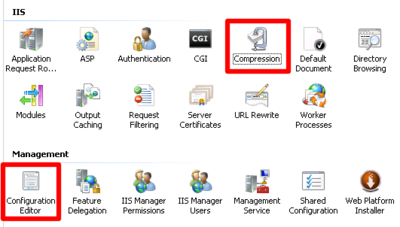
1 - Entries for compression settings
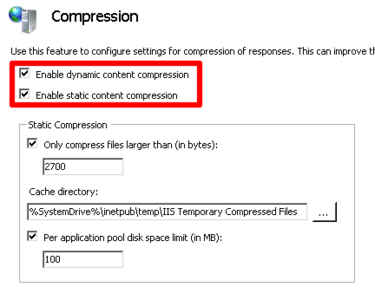
2 - Enable compression in general
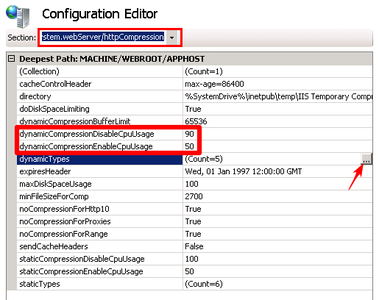
3 - Configure what & when to compress
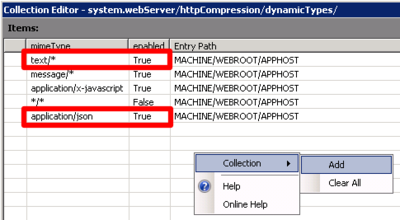
4 - Configure what to compress


- It is possible to configure when to compress service responses like shown in Figure.3. The "dynamicCompressionDisableCpuUsage" tells the service to stop compressing when the CPU load reaches above 90%; And the "dynamicCompressionEnableCpuUsage" tells the service to start compressing when the CPU load drops below 50%. These parameters should work well in most cases but can be modified if necessary;
- UBIK® service responses are in formats of either "text/xml"(text/*) or "application/json". So just make sure they are configured to be compressed like shown in Figure.4. If there are no such entries, just right click and add them accordingly;
- There are 10 different levels of compression, ranging from 0~9 where 9 is most CPU intensive but produces the best compress rate. The default level is 0 and this can be changed (e.g. to level 9) with the following command (need to run the Windows console as an administrator first):
C:\Windows\System32\Inetsrv\Appcmd.exe set config -section:httpCompression -[name='gzip'].dynamicCompressionLevel:9

5 - Change compression levels

Here are some test results of the transferred content size and duration under different compression levels.
| Compression Level | Meta Definitions | One Content Level | Branch Download |
|---|---|---|---|
| Level 0 | 4,732,058 bytes | 23,470 bytes | 318,847,597 bytes (9 minutes) |
| Level 4 | 3,050,115 bytes | 7,915 bytes | 79,384,336 bytes (5 minutes) |
| Level 9 | 2,851,318 bytes | 5,681 bytes | 48,037,714 bytes (4 minutes) |
As one can see from the table, compression can greatly reduce the amount of data to transfer. So theoretically, it is recommended to turn it on and use a higher compression level whenever possible. In practice, though, one has to check the following facts before making such a decision.
- CPU: Compression will require additional CPU processing power (more for higher levels).
- Network bandwidth: The lower the bandwidth, the more sense it makes to enable compression.
In the table above, one might already notice the reduction in time is not linear to the reduction in data amount. Take level 0 and level 9 for example, the time is "only" cut in half even when the data amount is reduced by 85%. These were tested with a 54Mbps bandwidth. Once we did our tests again with a 450Mbps bandwidth, the time reduction is even less (less than 6 minutes v.s. 3 minutes). If the bandwidth increases further, e.g. to Gbps, the time reduction might become negligible. Combined with a weak CPU, it is even possible that the time will be increased with higher compression levels.
Therefore, there is no general rulebooks for whether to turn on compression or not. The safest approach is still to try out different settings in the real setup.
As for the memory consumption, no observable difference was found between different compression settings (no compression and level 0 to 9) during our testing.
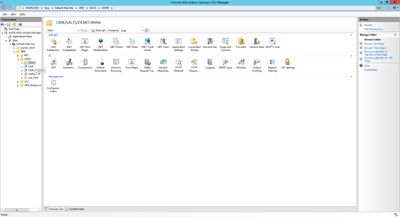
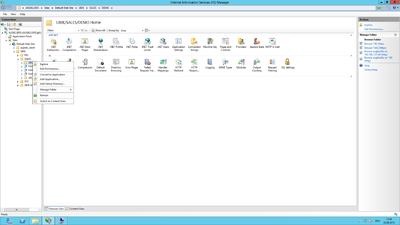
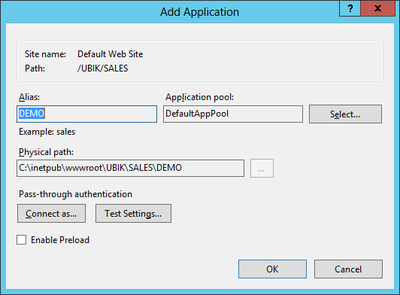
Create new Web Application
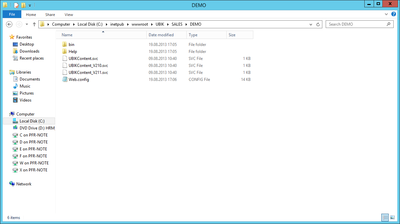
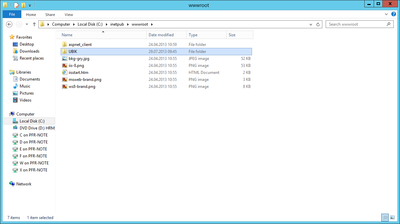
In the IIS Manager expand the Default Web Site node and navigate through the folder structure to the folder containing the UBIK® web service components.
1 - New Service
2 - New Service
3 - New Service
4 - New Service
5 - New Service
6 - New Service
7 - New Service

8 - New Service
9 - New Service


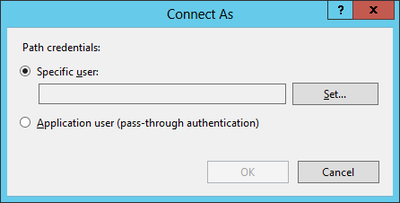
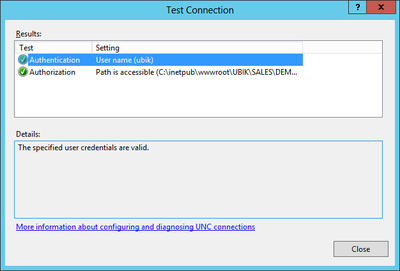
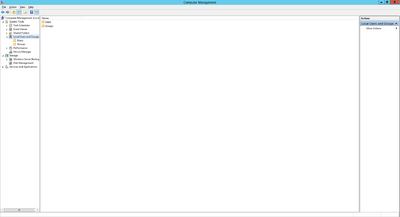
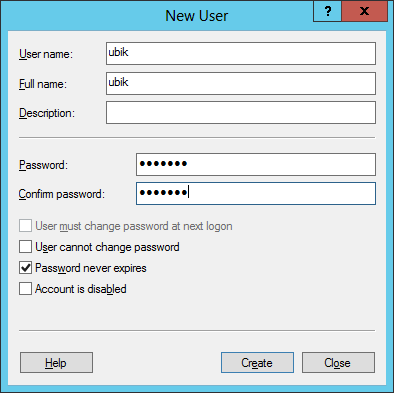
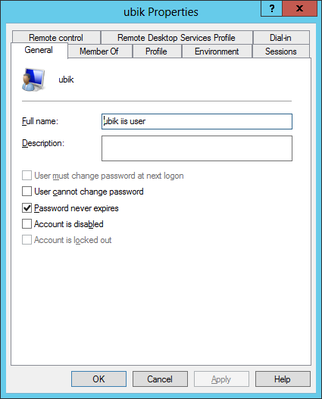
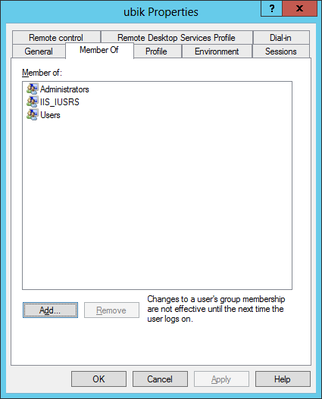
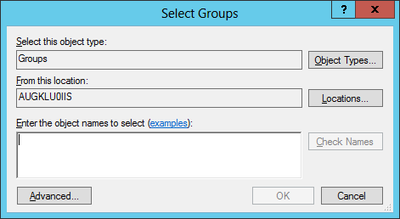
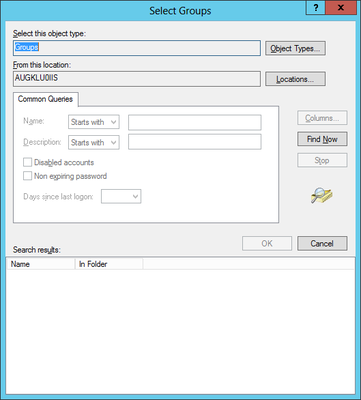
Optional: Local IIS User
Create and use a local user on the web server if no appropriate domain-user is available.
| The user has to be able to copy the customizing to its local user data directory on the machine! Hence, it also needs appropriate user permissions to the UBIK® data share. |
1 - Local IIS-user
2 - Local IIS-user
3 - Local IIS-user
4 - Local IIS-user
5 - Local IIS-user
6 - Local IIS-user
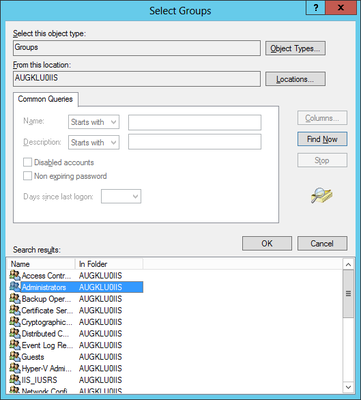
7 - Local IIS-user
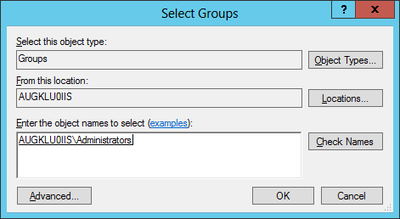
8 - Local IIS-user

9 - Local IIS-user


Additional prerequisites
- Ensure that the service ports are not blocked by a firewall.
- Ensure that port forwarding is established if needed (e.g. for Microsoft Azure Virtual Computers or servers behind a gateway)
Testing the Web Service
Test the web service by entering the following URL in a browser:
https://<SERVER-IP>[:<PORT>]/<PATH-TO-UBIK-WEBSERVICE>/UBIKContent.svc/GetVersion
Further Security Configuration & Hardening
TLS Level
If the UBIK® WebServices are supposed to communicate with other WebServices, e.g. an interface component or an Azure Blob container for file storage, the appropriate TLS level needs to be ensured. While this can be enforced with a registry key, it is best practice to let the OS and the .NET Framework negotiate it. To enable that, the targetFramework attribute of the httpRuntime element in the Web.config file of the WebService in question (normally the UBIK® content WebService) has to be set to the desired .NET Framework level, should typically be the same that the service was compiled against. So if TLS 1.2 shall be supported and default, the targetFramework needs to be set to 4.6 like in this example:
<customErrors mode="Off"/>
<httpRuntime maxRequestLength="65536" targetFramework="4.6" />
<compilation debug="true"
defaultLanguage="c#"
targetFramework="4.6" />
</system.web>
The full documentation on TLS best practices with .NET can be found here.
Hardening
For hardening instructions of IIS, please follow the following best practice guidelines:
Configure Upload of large files
| The Configuration Files/web.config and Configuration Files/Bindings.config must also be adapted otherwise, the upload will fail. |
The following description was taken from: https://www.inflectra.com/Support/KnowledgeBase/KB306.aspx
- Open IIS Manager.
- Select the website that you want to configure.
- Make sure you are in the Feature View per the button at the bottom of the manager.
- Select Requests Filtering and open it by double-clicking the icon. The Request Filtering pane displays:
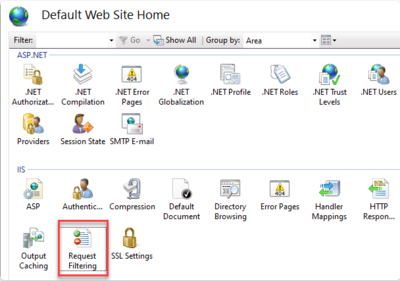
1 - Request Filtering

- From the Actions pane on the right-hand side of the screen click Edit Features Settings.
- Edit Request Filtering Settings window will open.
- In the Request Limits section, enter the appropriate Maximum allowed content length (Bytes) and then click the OK button
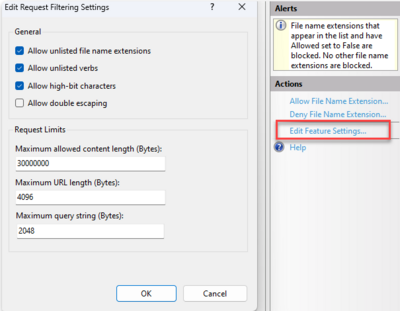
2 - Edit Feature Settings

- Restart IIS