How to add a file extension in UBIK
- Open UBIK Studio and connect to database.
In the Class Browser switch to the Content view.
Add a file extension - Add a SelectiveItem in Admin mode
Now browse to {System.List} in the Class Browser and open the MetaClass SELECTIVEITEM in the Bulk Editor (via Drag & Drop).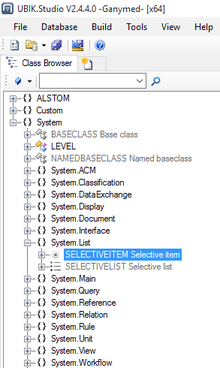
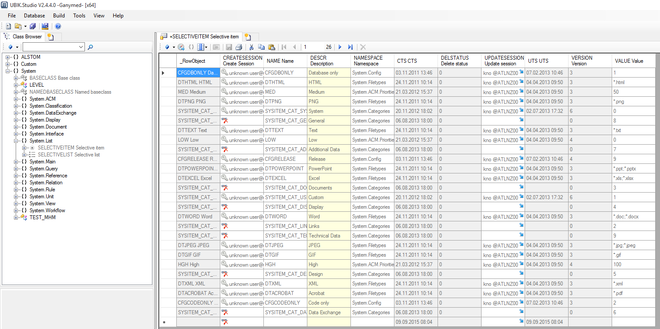
Every row in the Bulk Editor is shown greyed and can´t be edited, because the MetaClass SELECTIVEITEM is a system MetaClass. So we need to enable the Admin mode. Therefore, click with the right mouse button on your login name in the sta-tus bar.
Add a file extension
Add a file extension
After enabling the Admin mode you can add a new row for your file extension.
Add a file extension
- Add your new file extension to the selective list
Open the SELECTIVELIST MetaClass and connect the objects called FILETYPES with the Relation Editor to add your new file extension via drag & drop.
Add a file extension
Add a file extension
Add a file extension
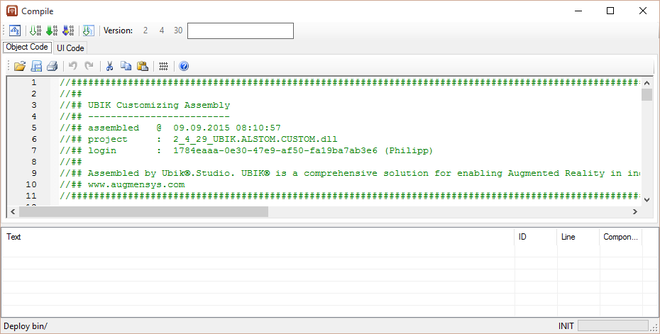
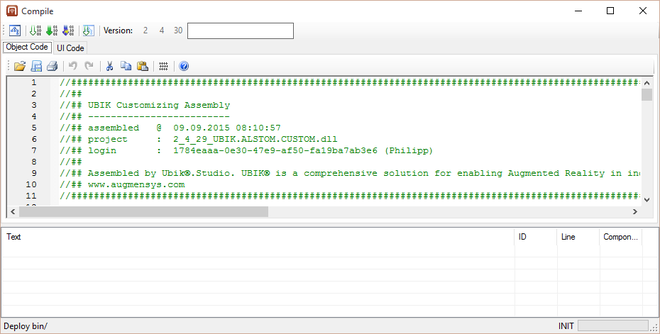
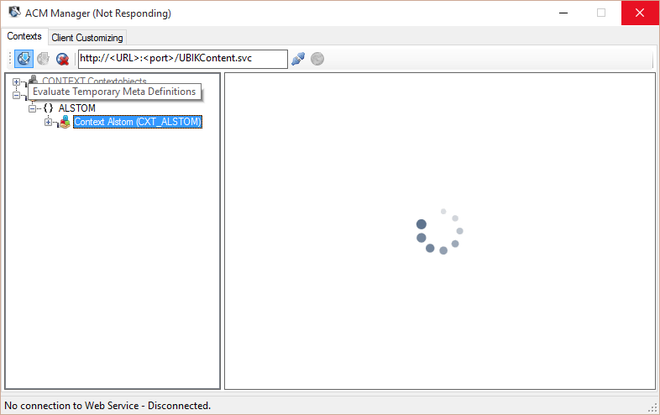
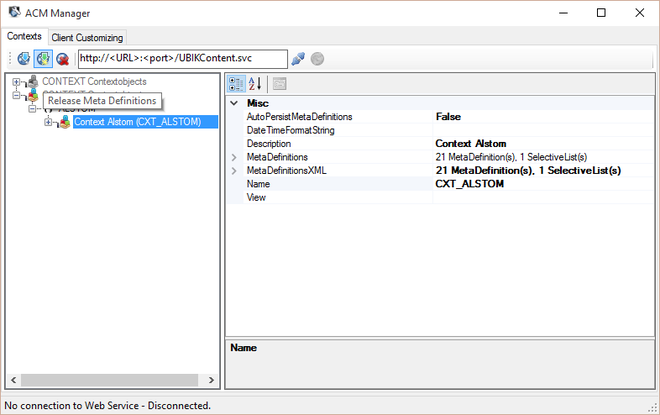
- Compile and release the ACM
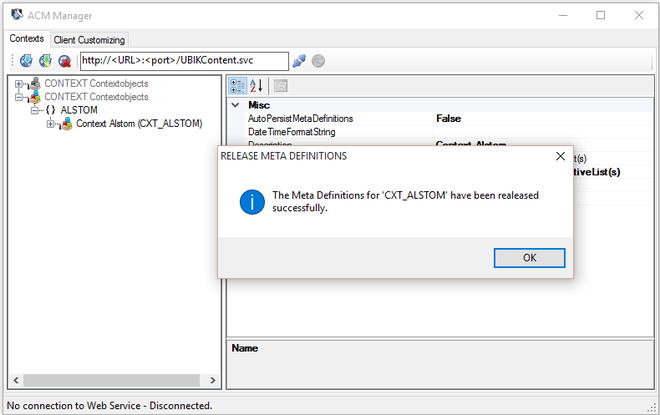
After that it is necessary to compile and release the ACM.
