Set up UBIK
The initial set up of UBIK® and its components requires some extensive but straight forward steps. This guide gives an overview about the different components and the dependencies. More detailed installation instructions can be found in separate articles.
Contents
Mandatory
- UBIK Database
- Import dump file
- [Create empty SQL DB + execute SQL script]
- UBIK Studio
- .NET Framework 4.0
• UBIK Application (Android, Windows)
• Use cases o UBIK Studio only: SL o Working with client (mobile, web): LAS + USAM
• Web service o Content Configuration: endpoints, bindings vom Push o USAM o Optional: Push
- Configuration: endpoints, bindings
All content and configuration data of UBIK® is managed in a Microsoft SQL database (2008 R2 or newer). Once the SQL server engines is installed successfully, an administrator can set up a new UBIK® database simple using the available release database.
Setting up UBIK® database
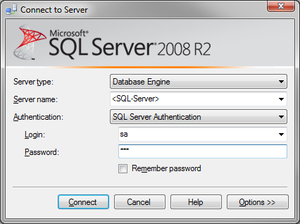
- Start the Microsoft SQL Server Management Studio and connect to the database server
- Navigate to Databases and add a new database
- Choose Tasks → Restore → Database from the context menu
- Choose the newly created database in the setting In database
- Choose the copied backup file in From media
- Check Restore of the according backup set
- Switch to the options-slider and check Overwriting actual data (if necessary)
- Finish the process by clicking OK
Requirements
Database user
The database user configured in UBIK® Studio used to connect to the database needs
- to have the role sys.admin assigned
- to be marked as Database owner (dbo) of the according UBIK® database
Windows firewall
For a non-local SQL server make sure that the SQL server port (default: 1433) is unlocked by the Windows firewall Inbound and Exbound rules.

