Difference between revisions of "HowTo:Install UBIK Web Service"
| Line 40: | Line 40: | ||
[http://www.microsoft.com/en-us/download/details.aspx?id=17851 .NET Framework 4] | [http://www.microsoft.com/en-us/download/details.aspx?id=17851 .NET Framework 4] | ||
| + | <gallery widths="500" heights="500" > | ||
[[File:.net Framework4.01.png|600px|alt=01 .net Framework4|01 .net Framework4]] | [[File:.net Framework4.01.png|600px|alt=01 .net Framework4|01 .net Framework4]] | ||
[[File:.net Framework4.02.png|600px|alt=02 .net Framework4|02 .net Framework4]] | [[File:.net Framework4.02.png|600px|alt=02 .net Framework4|02 .net Framework4]] | ||
[[File:.net Framework4.03.png|600px|alt=03 .net Framework4|03 .net Framework4]] | [[File:.net Framework4.03.png|600px|alt=03 .net Framework4|03 .net Framework4]] | ||
| − | + | </gallery> | |
=== Add Application Pool === | === Add Application Pool === | ||
Within an application pool is defined which (parts of) web site and which work process (es) will be delivered - ultimately this means that an application pool defines who is responsible for the processing of one (or several) URL (s). | Within an application pool is defined which (parts of) web site and which work process (es) will be delivered - ultimately this means that an application pool defines who is responsible for the processing of one (or several) URL (s). | ||
| + | <gallery widths="500" heights="500" > | ||
[[File:UI Application Pool.01.png|600px|alt=01 Application Pool|01 Application Pool]] | [[File:UI Application Pool.01.png|600px|alt=01 Application Pool|01 Application Pool]] | ||
[[File:UI Application Pool.02.png|400px|alt=02 Application Pool|02 Application Pool]] | [[File:UI Application Pool.02.png|400px|alt=02 Application Pool|02 Application Pool]] | ||
[[File:UI Application Pool.03.png|600px|alt=03 Application Pool|03 Application Pool]] | [[File:UI Application Pool.03.png|600px|alt=03 Application Pool|03 Application Pool]] | ||
| + | </gallery> | ||
=== Certificate === | === Certificate === | ||
We need a certificate that guarantees us the security of the connection and recognition of authorized mobile devices. After the creation of the certificate on the server, it must be exported using the export function. Our developers need this certificate to integrate it into our mobile application. | We need a certificate that guarantees us the security of the connection and recognition of authorized mobile devices. After the creation of the certificate on the server, it must be exported using the export function. Our developers need this certificate to integrate it into our mobile application. | ||
| + | <gallery widths="500" heights="500" > | ||
[[File:UI Certificate.01.png|600px|alt=01 Certificate|01 Certificate]] | [[File:UI Certificate.01.png|600px|alt=01 Certificate|01 Certificate]] | ||
[[File:UI Certificate.02.png|600px|alt=02 Certificate|02 Certificate]] | [[File:UI Certificate.02.png|600px|alt=02 Certificate|02 Certificate]] | ||
[[File:UI Certificate.03.png|600px|alt=03 Certificate|03 Certificate]] | [[File:UI Certificate.03.png|600px|alt=03 Certificate|03 Certificate]] | ||
[[File:UI Certificate.04.png|600px|alt=04 Certificate|04 Certificate]] | [[File:UI Certificate.04.png|600px|alt=04 Certificate|04 Certificate]] | ||
| + | </gallery> | ||
=== Bindings === | === Bindings === | ||
Now we create a binding, so we get the correct certificate to access to our IIS service from external. | Now we create a binding, so we get the correct certificate to access to our IIS service from external. | ||
| + | <gallery widths="500" heights="500" > | ||
[[File:UI Binding.01.png|400px|alt=01 Binding|01 Binding]] | [[File:UI Binding.01.png|400px|alt=01 Binding|01 Binding]] | ||
[[File:UI Binding.02.png|400px|alt=02 Binding|02 Binding]] | [[File:UI Binding.02.png|400px|alt=02 Binding|02 Binding]] | ||
| Line 70: | Line 76: | ||
[[File:UI Binding.06.png|400px|alt=06 Binding|06 Binding]] | [[File:UI Binding.06.png|400px|alt=06 Binding|06 Binding]] | ||
[[File:UI Binding.07.png|400px|alt=07 Binding|07 Binding]] | [[File:UI Binding.07.png|400px|alt=07 Binding|07 Binding]] | ||
| + | </gallery> | ||
=== Local IIS-User === | === Local IIS-User === | ||
This member is necessary because it allows the external clients to have access to the IIS user entitle folder. | This member is necessary because it allows the external clients to have access to the IIS user entitle folder. | ||
| + | <gallery widths="500" heights="500" > | ||
[[File:UI_Local_IIS_user.01.png|600px|alt=01 Local IIS-user|01 Local IIS-user]] | [[File:UI_Local_IIS_user.01.png|600px|alt=01 Local IIS-user|01 Local IIS-user]] | ||
[[File:UI_Local_IIS_user.02.png|300px|alt=02 Local IIS-user|02 Local IIS-user]] | [[File:UI_Local_IIS_user.02.png|300px|alt=02 Local IIS-user|02 Local IIS-user]] | ||
| Line 83: | Line 91: | ||
[[File:UI_Local_IIS_user.08.png|300px|alt=08 Local IIS-user|08 Local IIS-user]] | [[File:UI_Local_IIS_user.08.png|300px|alt=08 Local IIS-user|08 Local IIS-user]] | ||
[[File:UI_Local_IIS_user.09.png|300px|alt=09 Local IIS-user|09 Local IIS-user]] | [[File:UI_Local_IIS_user.09.png|300px|alt=09 Local IIS-user|09 Local IIS-user]] | ||
| + | </gallery> | ||
=== Create new service for UBIK === | === Create new service for UBIK === | ||
| + | <gallery widths="500" heights="500" > | ||
[[File:UI New Service.01.png|600px|alt=01 New Service|01 New Service]] | [[File:UI New Service.01.png|600px|alt=01 New Service|01 New Service]] | ||
[[File:UI_New Service.02.png|600px|alt=02 New Service|02 New Service]] | [[File:UI_New Service.02.png|600px|alt=02 New Service|02 New Service]] | ||
| Line 95: | Line 105: | ||
[[File:UI_New Service.08.png|300px|alt=08 New Service|08 New Service]] | [[File:UI_New Service.08.png|300px|alt=08 New Service|08 New Service]] | ||
[[File:UI_New Service.09.png|300px|alt=09 New Service|09 New Service]] | [[File:UI_New Service.09.png|300px|alt=09 New Service|09 New Service]] | ||
| + | </gallery> | ||
==== Testing the new service ==== | ==== Testing the new service ==== | ||
Revision as of 09:10, 20 August 2013
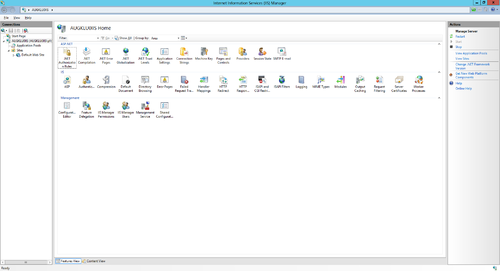
This page describes how to set up an IIS server and a web service for UBIK® on MS Server 2012. The web service is used to publish data from the UBIK® database to a mobile device (eg mobile phone, tablet).
Contents
Installation of Microsoft IIS
Resources
A physical server with MS Server 2012 is used as the host system. On this server, the Hyper-V role is installed to operate at several virtual servers . However, a virtual server can have different operating systems. But in our case we need also an MS-Server2012 installation.
Install role
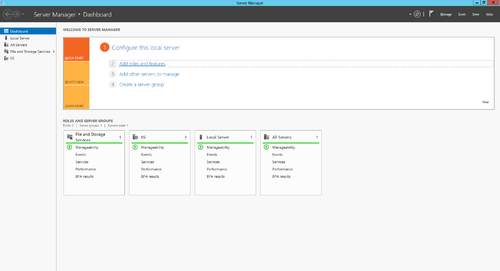
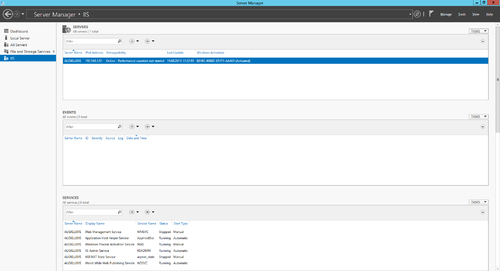
To install the Internet Information Services (IIS) on Windows Server 2012, start the server manager.
- Click Start, point to Administrative Tools, and then click Server Manager.
- Click Roles Summary, click Add Roles.
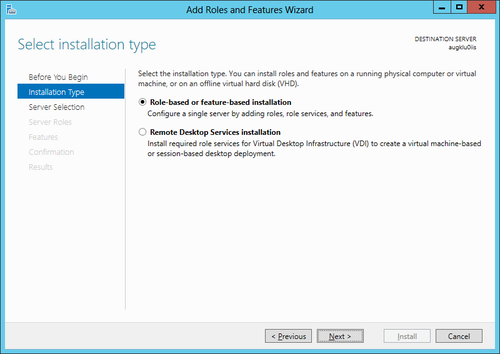
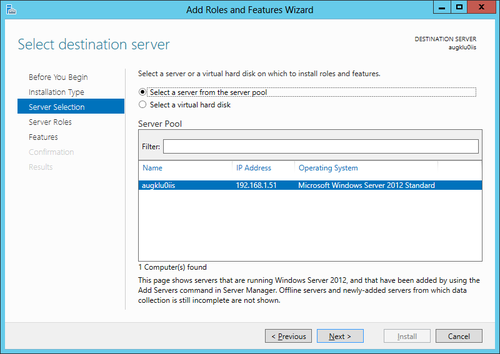
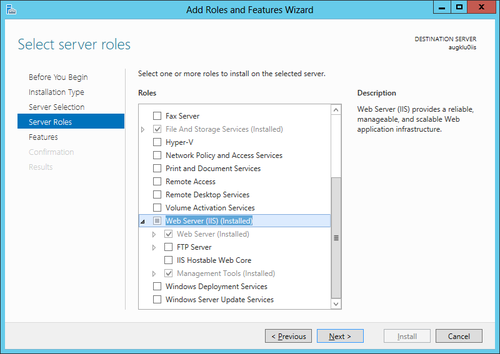
- Use the "Add Roles" wizard to add the Web Server role.
When you use the Add Roles Wizard to install IIS, you get the default installation, which has a minimum set of role services. If you need additional IIS role services, such as Application Development or Health and Diagnostics, make sure to select the check boxes associated with those features in the Select Role Services page of the wizard.
Configuration of the web server
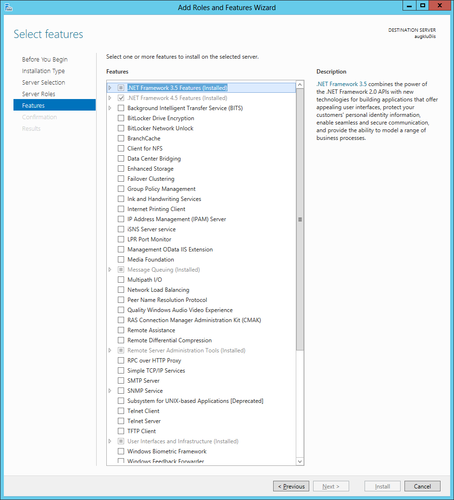
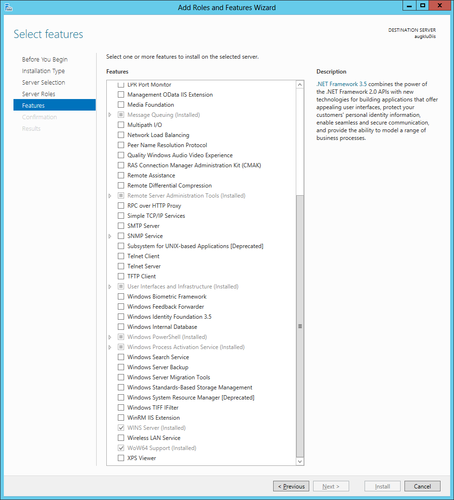
For UBIK webservice we need additional features to make it properly and smoothly.
- Microsoft. NET Framework 4
- Roles / Feature. NET Framework 3.5.1 feature
Download and installation Microsoft .NET Framework 4
Add Application Pool
Within an application pool is defined which (parts of) web site and which work process (es) will be delivered - ultimately this means that an application pool defines who is responsible for the processing of one (or several) URL (s).
Certificate
We need a certificate that guarantees us the security of the connection and recognition of authorized mobile devices. After the creation of the certificate on the server, it must be exported using the export function. Our developers need this certificate to integrate it into our mobile application.
Bindings
Now we create a binding, so we get the correct certificate to access to our IIS service from external.
Local IIS-User
This member is necessary because it allows the external clients to have access to the IIS user entitle folder.

