Difference between revisions of "HowTo:Implementing Live Values"
(→Implementing Live Values in {{UBIK}} Studio) |
|||
| Line 11: | Line 11: | ||
#Add the newly created ''Live Value MetaProperty'', from step 6, to the ''Metaclass'' where you want to have the live Values to bee shown. | #Add the newly created ''Live Value MetaProperty'', from step 6, to the ''Metaclass'' where you want to have the live Values to bee shown. | ||
#Add the created Datapoint from step 4 to an instance of the above ''Metaclass'' to which it concerns. <br/> [[File:AddDatapoint.PNG|770 px|border]] | #Add the created Datapoint from step 4 to an instance of the above ''Metaclass'' to which it concerns. <br/> [[File:AddDatapoint.PNG|770 px|border]] | ||
| − | |||
# Save the changes with {{key press|Ctrl|S}} or the save command. | # Save the changes with {{key press|Ctrl|S}} or the save command. | ||
Revision as of 10:42, 5 December 2019
Implementing Live Values in UBIK® Studio
First of all, download the UBIK.Interface.Module.OPCUA from the Augmensys Realease Portal/Plugins and copy them into the injections folder from your UBIK® Studio as well as in the injection folder of the Web Service.
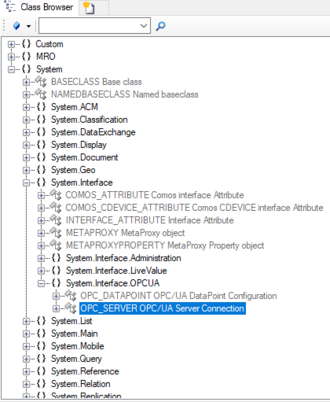
- Navigate to the MetaClass OPC_SERVER OPC via the Class Browser.
- Add a new instance (OPC Server) to the MetaClass by using the Bulk Editor.
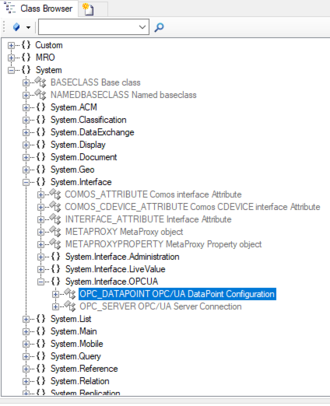
- Navigate to the MetaClass OPC_DATAPOINT OPC via the Class Browser.
- Add a new instance (OPC Datapoint) to the MetaClass by using the Bulk Editor. As REF_OPC_SERVER take the server created before in step 2.
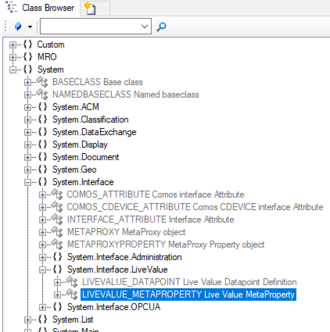
- Navigate to the MetaClass LIVEVALUE_METAPROPERTY via the Class Browser.
- Add a new instance (Live Value MetaProperty) to the MetaClass by using the Bulk Editor.
- Add the newly created Live Value MetaProperty, from step 6, to the Metaclass where you want to have the live Values to bee shown.
- Add the created Datapoint from step 4 to an instance of the above Metaclass to which it concerns.
- Save the changes with Ctrl+S or the save command.


