Difference between revisions of "HowTo:Use POI Groups"
| (7 intermediate revisions by the same user not shown) | |||
| Line 16: | Line 16: | ||
# To navigate back to the parent view, click on the back button | # To navigate back to the parent view, click on the back button | ||
| + | == See also == | ||
| + | * [[HowTo:Declare_an_Object_as_POI_Group]] | ||
| + | * [[HowTo:Declare_an_Object_as_Point_of_Interest_(POI)]] | ||
| + | * [[POI Groups]] | ||
| + | |||
| + | [[Category:POI]] | ||
| + | [[Category:Publishing]] | ||
| + | [[Category:Android]] | ||
[[Category:How-To]] | [[Category:How-To]] | ||
| − | |||
| − | |||
Latest revision as of 02:16, 2 April 2015
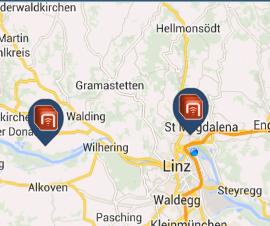
POI groups are groups of Points of Interests (POI). The groups initially are represented as single objects, hiding their contents initially. Once a group is selected, the contents become visible. POI groups are represented in both Map views and POI views.
Map view
To view POI Groups in the Map view
- Click on the POI group icon on the map to choose a POI group
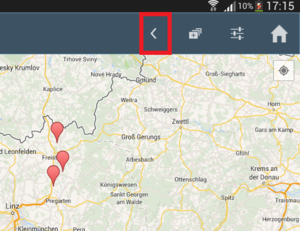
- To navigate to the children POI groups and POI group items of the current POI group, choose Open group from the displayed dialog box
- To navigate back to the parent view click on the back button on the top menu
POI view
To view POI Groups in POI views
- Click on a POI group billboard on the POI view to choose a POI group
- To navigate to the children POI groups and POI group items of current POI group, choose Open Group from the displayed dialog box
- To navigate back to the parent view, click on the back button


