Difference between revisions of "HowTo:Find Objects by Optical Codes"
| Line 2: | Line 2: | ||
== Start a scanner == | == Start a scanner == | ||
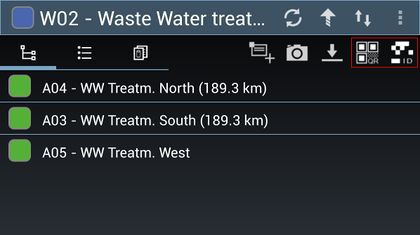
| − | # Press one of the optical code scanning buttons in the context aware action bar.<br/>[[File:UI_Android_StartScannerFromActionBar.jpg| | + | # Press one of the optical code scanning buttons in the context aware action bar.<br/>[[File:UI_Android_StartScannerFromActionBar.jpg|420 px|border|alt=Start an Scanner|Start an Scanner]] |
== Scan an optical code == | == Scan an optical code == | ||
# Position the device in a way that the optical code is visible and stable in the camera view; | # Position the device in a way that the optical code is visible and stable in the camera view; | ||
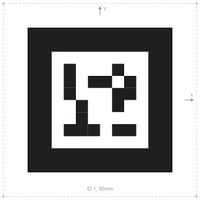
| − | # Wait until the optical code is recognized by the scanner.<br/>[[File:UI_Android_IDMarkerRecognized.jpg| | + | # Wait until the optical code is recognized by the scanner.<br/>[[File:UI_Android_IDMarkerRecognized.jpg|200 px|border|alt=ID Marker Recognized|ID Marker Recognized]] |
== Wait for the search to finish == | == Wait for the search to finish == | ||
# Once the scan is finished, wait until the scanner is closed and an empty browser shows up; | # Once the scan is finished, wait until the scanner is closed and an empty browser shows up; | ||
| − | # Depending on the network connection and the {{UBIK}} [[Sync Mode|sync mode]], [[Optical code|different ways of searching]] will be applied; | + | # Depending on the network connection and the {{UBIK}} [[Sync Mode|sync mode]], [[Optical code#Searching for objects|different ways of searching]] will be applied; |
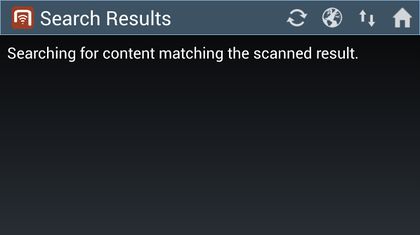
# During the search, the list might show a searching text before any objects are found;<br/>[[File:UI_Android_SearchObjectWithOpticalCode.jpg|420 px|border|alt=Searching for Objects|Searching for Objects]] | # During the search, the list might show a searching text before any objects are found;<br/>[[File:UI_Android_SearchObjectWithOpticalCode.jpg|420 px|border|alt=Searching for Objects|Searching for Objects]] | ||
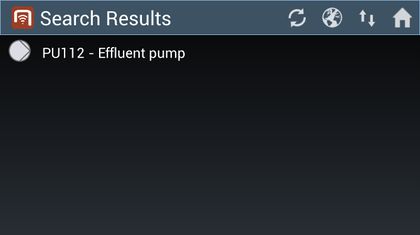
# If any objects are found, they will be added to the list.<br/>[[File:UI_Android_ObjectWithOpticalCodeFound.jpg|420 px|border|alt=Displaying Objects|Displaying Objects]] | # If any objects are found, they will be added to the list.<br/>[[File:UI_Android_ObjectWithOpticalCodeFound.jpg|420 px|border|alt=Displaying Objects|Displaying Objects]] | ||
Revision as of 07:09, 29 April 2014
First make sure the ZXing Barcode Scanner is installed on the device.
Start a scanner
Scan an optical code
- Position the device in a way that the optical code is visible and stable in the camera view;
- Wait until the optical code is recognized by the scanner.

Wait for the search to finish
- Once the scan is finished, wait until the scanner is closed and an empty browser shows up;
- Depending on the network connection and the UBIK® sync mode, different ways of searching will be applied;
- During the search, the list might show a searching text before any objects are found;

- If any objects are found, they will be added to the list.


