Difference between revisions of "HowTo:Install UBIK Web Service"
(→Configuration of Microsoft IIS) |
(→Setting up the web server) |
||
| Line 24: | Line 24: | ||
When you use the Add Roles Wizard to install IIS, you get the default installation, which has a minimum set of role services. If you need additional IIS role services, such as Application Development or Health and Diagnostics, make sure to select the check boxes associated with those features in the Select Role Services page of the wizard. | When you use the Add Roles Wizard to install IIS, you get the default installation, which has a minimum set of role services. If you need additional IIS role services, such as Application Development or Health and Diagnostics, make sure to select the check boxes associated with those features in the Select Role Services page of the wizard. | ||
| − | == | + | == Configuration of the web server== |
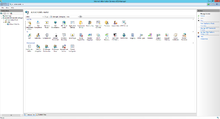
[[File:UI_10_IIS_Manager.png|thumb|220px|alt=10 IIS Manager|10 IIS Manager]] | [[File:UI_10_IIS_Manager.png|thumb|220px|alt=10 IIS Manager|10 IIS Manager]] | ||
For UBIK webservice we need additional features to make it properly and smoothly. | For UBIK webservice we need additional features to make it properly and smoothly. | ||
* Microsoft. NET Framework 4 | * Microsoft. NET Framework 4 | ||
* Roles / Feature. NET Framework 3.5.1 feature | * Roles / Feature. NET Framework 3.5.1 feature | ||
| − | |||
== Setting up the web service == | == Setting up the web service == | ||
Revision as of 12:22, 7 May 2013
This page describes how to set up an IIS server and a web service for UBIK® on MS Server 2008 R2. The web service is used to publish data from the UBIK® database to a mobile device (eg mobile phone, tablet).
Contents
Installation of Microsoft IIS
Resources
A physical server with MS Server 2008 R2 is used as the host system. On this server, the Hyper-V role is installed to operate at several virtual servers . However, a virtual server can have different operating systems. But in our case we need also an MS-Server2008 R2 installation.
Install role
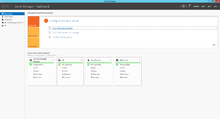
To install the Internet Information Services (IIS) on Windows Server 2008 R2, start the server manager.
- Click Start, point to Administrative Tools, and then click Server Manager.
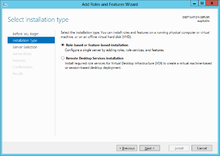
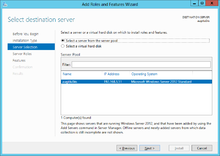
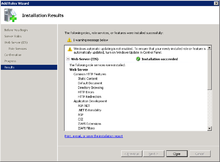
- Click Roles Summary, click Add Roles.
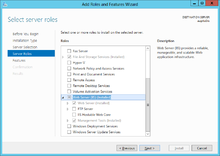
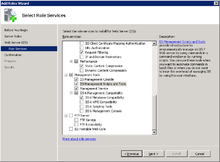
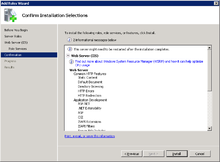
- Use the "Add Roles" wizard to add the Web Server role.
When you use the Add Roles Wizard to install IIS, you get the default installation, which has a minimum set of role services. If you need additional IIS role services, such as Application Development or Health and Diagnostics, make sure to select the check boxes associated with those features in the Select Role Services page of the wizard.
Configuration of the web server
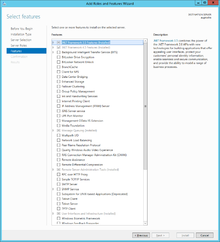
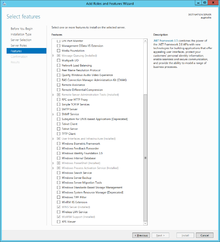
For UBIK webservice we need additional features to make it properly and smoothly.
- Microsoft. NET Framework 4
- Roles / Feature. NET Framework 3.5.1 feature
Setting up the web service
- Locate the public directory of the webserver (default: „inetpub\wwwroot“)
- Create a subdirectory and past the components of the UBIK® web service
- Open the Server Manager and go to Internet Information Services Manager
- Create a new application pool UBIK.Pool with .NET Framework >= v4.x
- Locate the created subdirectory among the IIS sites and use the Convert to Application from the context menu
- Click Select… and choose your application pool
- Click Connect as… and choose UBIK as specific user
- Open Advanced Settings of the application and enable https protocol

