Jump to: navigation, search

Difference between revisions of "HowTo:Import Meta Data from Comos"


(Created page with "{{Attention|This page is under construction.}} Using Smart Studio, meta data from Comos can be imported into {{UBIK}}. This includes Meta Classes and their...")
(No difference)

Revision as of 15:55, 26 June 2023

IC Attention.pngThis page is under construction.

Using Smart Studio, meta data from Comos can be imported into UBIK®. This includes Meta Classes and their Meta Properties, Meta Proxies, Selective Lists and Units.


[edit]

Instructions

Preconditions

As a precondition, a meta data XML file exported from Comos for UBIK® is required. The Comos specialists in our Service department are capable of setting up such an export. Further, a Smart Project and a UBIK Environment should be available to import into.

Basic idea

The Smart Import basically consists of the following steps:

  • Select import file
  • Plan your import
  • Show meta classes from import file
  • Merge with existing meta data
  • Save to UBIK®
  • Generate a Handshake file

1. Select the file to import

  • Open Smart Studio.
  • Open a Smart Project or create a new one.
  • Connect to your UBIK® Environment using the plug symbol.
  • Open the Smart Import view using the Import/Export menu's Import into Graph menu item.
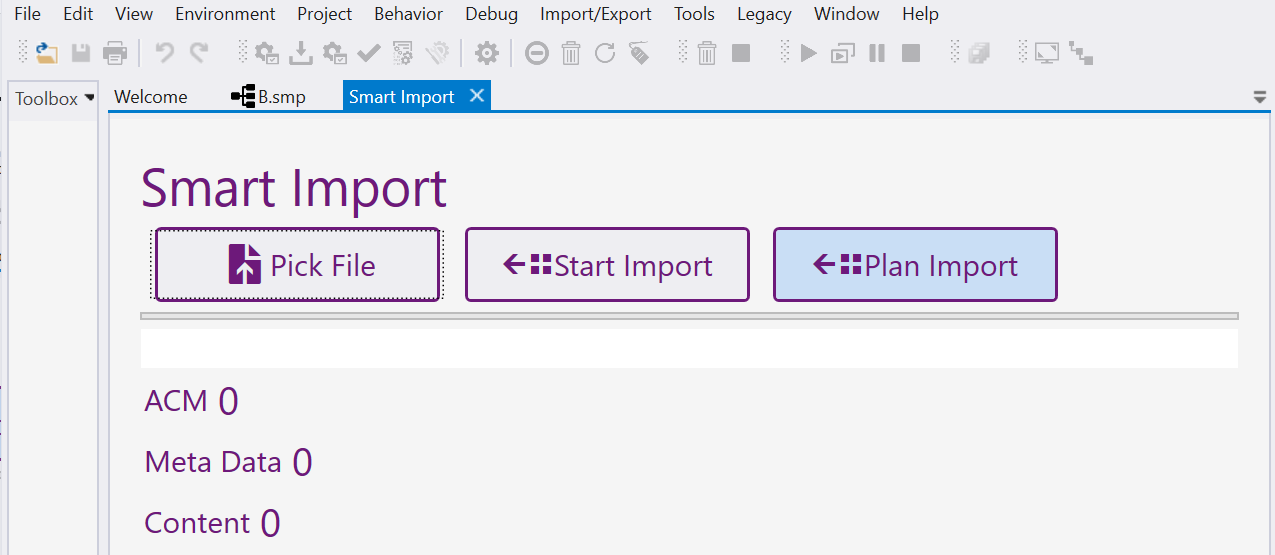
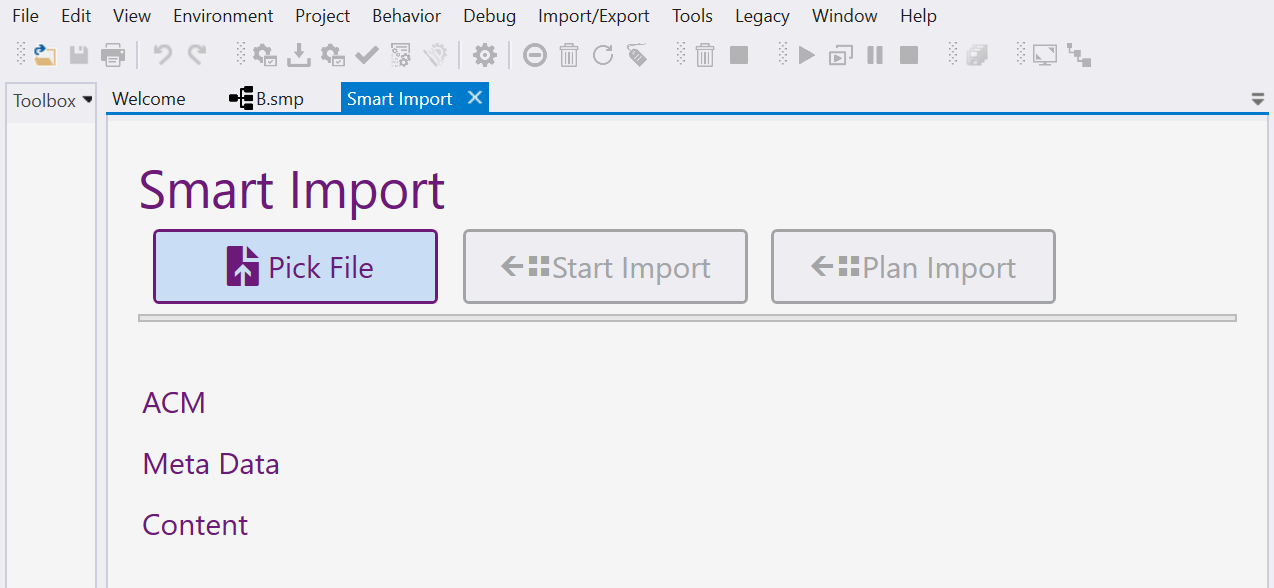
  • Use the Pick File button to select your file.

SmartImport EntryPoint.png SmartImport PickFile.png

2. Plan your import

There are multiple ways you can go from here, depending on what you need. Mostly, the best way depends on the following questions you must answer for yourself:

  • Do I want to use the UBIK® Environment as a basis for the import result?
  • Is there already something in the UBIK® Environment the imported meta data has to be combined with?
  • Do I want to save the import result into my UBIK® Environment?
  • Do I want to use my Smart Project file to share the imported model with other people or UBIK® Environments?

Most likely, your use-case is that you want to import meta data into an existing Environment, and maybe you have some of the classes that are specified in the import file already in your Environment, perhaps you have even edited them previously. There's a good chance you won't need the Smart Project at all, but you need one in order to use the necessary features in Smart Studio.

In any case, using the Plan Import button to configure your workflow is recommended. SmartImport PlanImport.png

You can change the order of steps and some details if you know what you want to achieve. If your use-case is as described above, you probably just want to select the following steps:

  • Merge with Environment
  • Save to Environment

There's no harm if you also select the other steps.

To start the import, press Execute Plan.

SmartImport ExecutePlan.png

3. Check the meta data to be imported

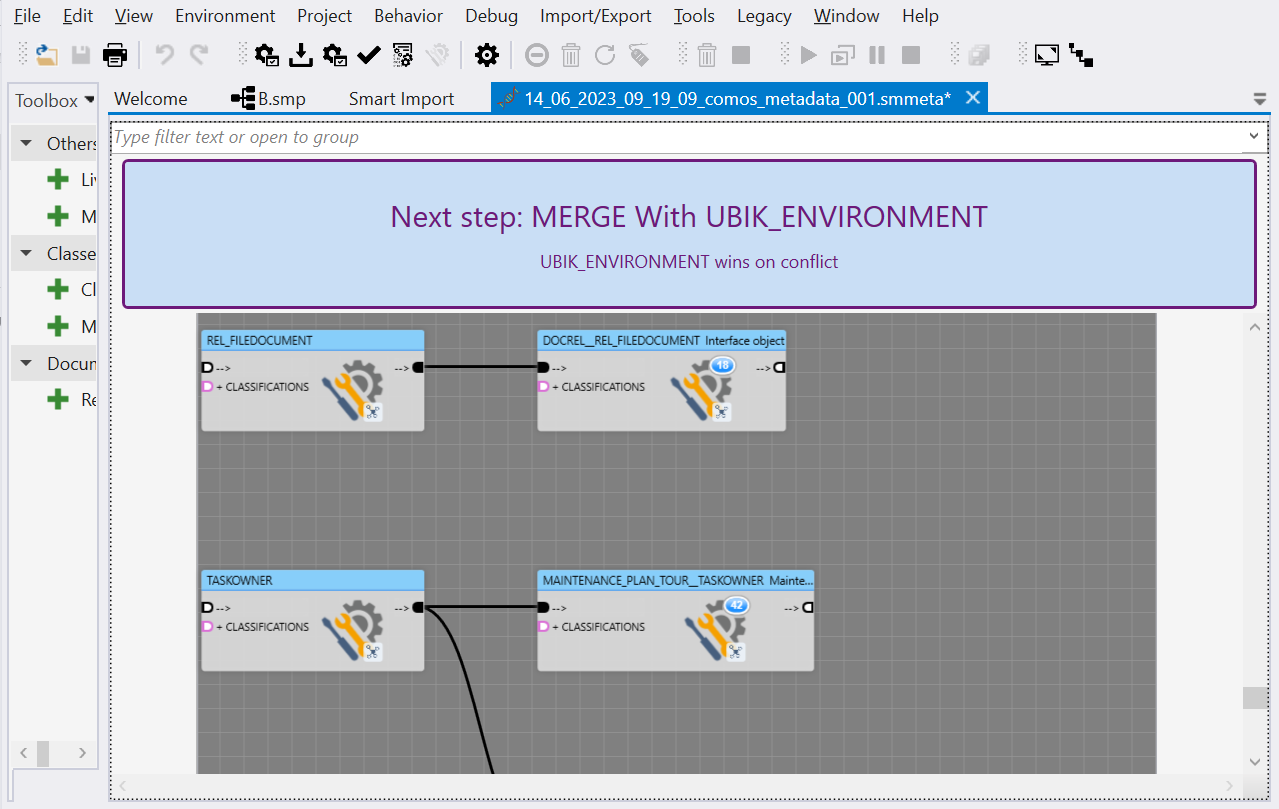
The first thing you will see then is an Inheritance Graph presenting the MetaClasses from your Comos export file. It's a good idea to check whether what you have here is what you want to import, because a wrong or faulty Comos export file can lead to an undesired result later.

SmartImport MergeEnvironment.png

4. Merge

As described in this article, merging is the process of combining the situation of a current worksheet with what is already there in the Environment or the Project. By default, the already existing models are extended by new aspects coming from the current worksheet, with the existing models "winning" in case of a conflict. For example, if you are importing a set of MetaClasses where some of them are new and others are already in your Environment or Project, the new MetaClasses are added and the existing ones aren't changed except for new meta properties, which are added. This is especially useful if you have already changed the inheritance structure of previously imported MetaClasses and don't want to override it with the new import. After merging, your worksheet will be updated with the result of the combination, but nothing is saved yet.

SmartImport MergeEnvironment.png

5. Save

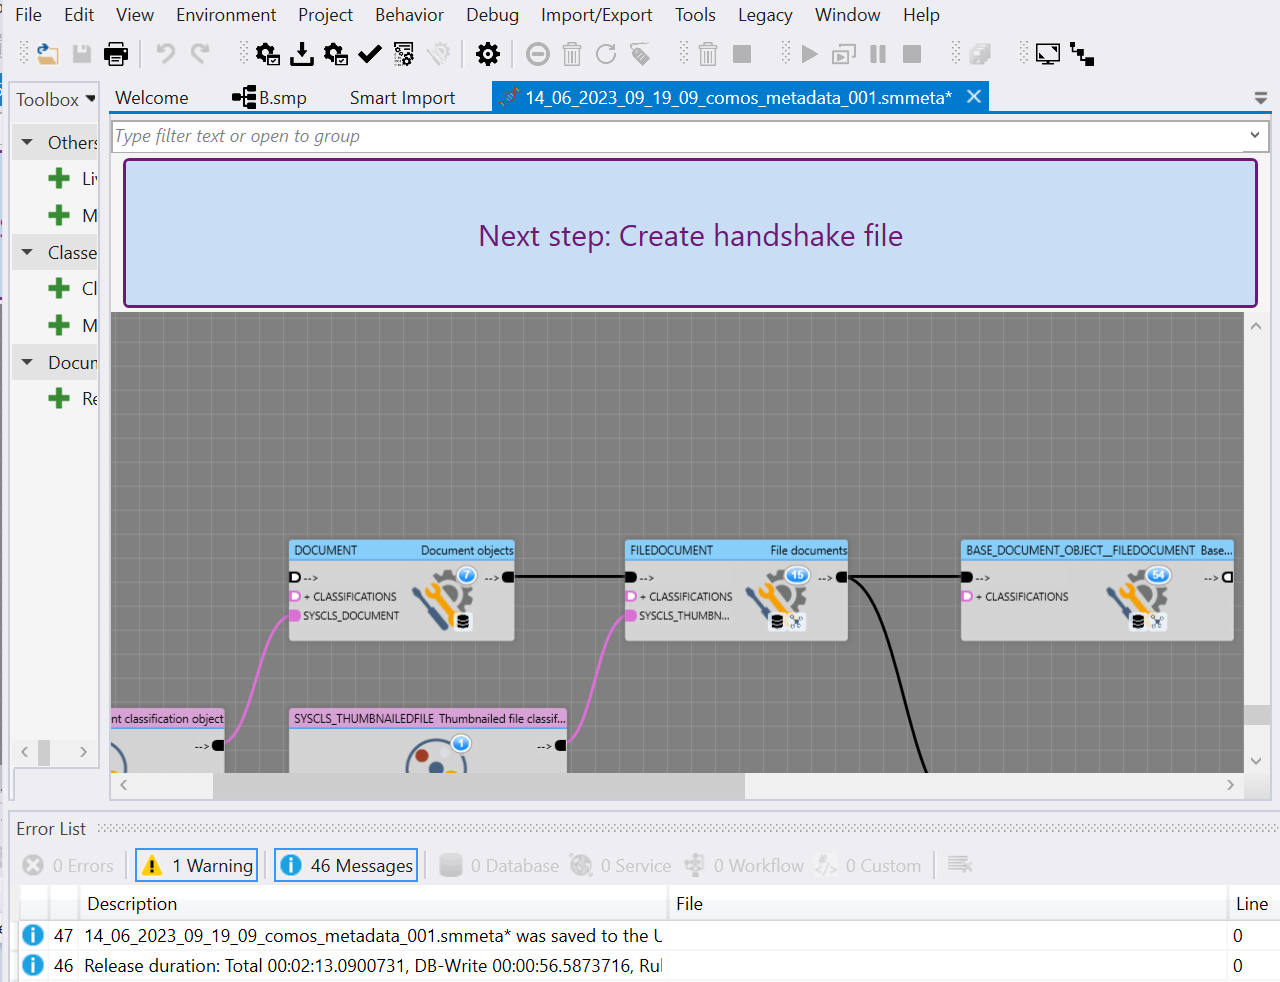
When you're sure the current state of the worksheet is what you want, it can be saved either to the Environment or the Project, or to both.

SmartImport SaveToEnvironment.png

6. Create a Handshake file

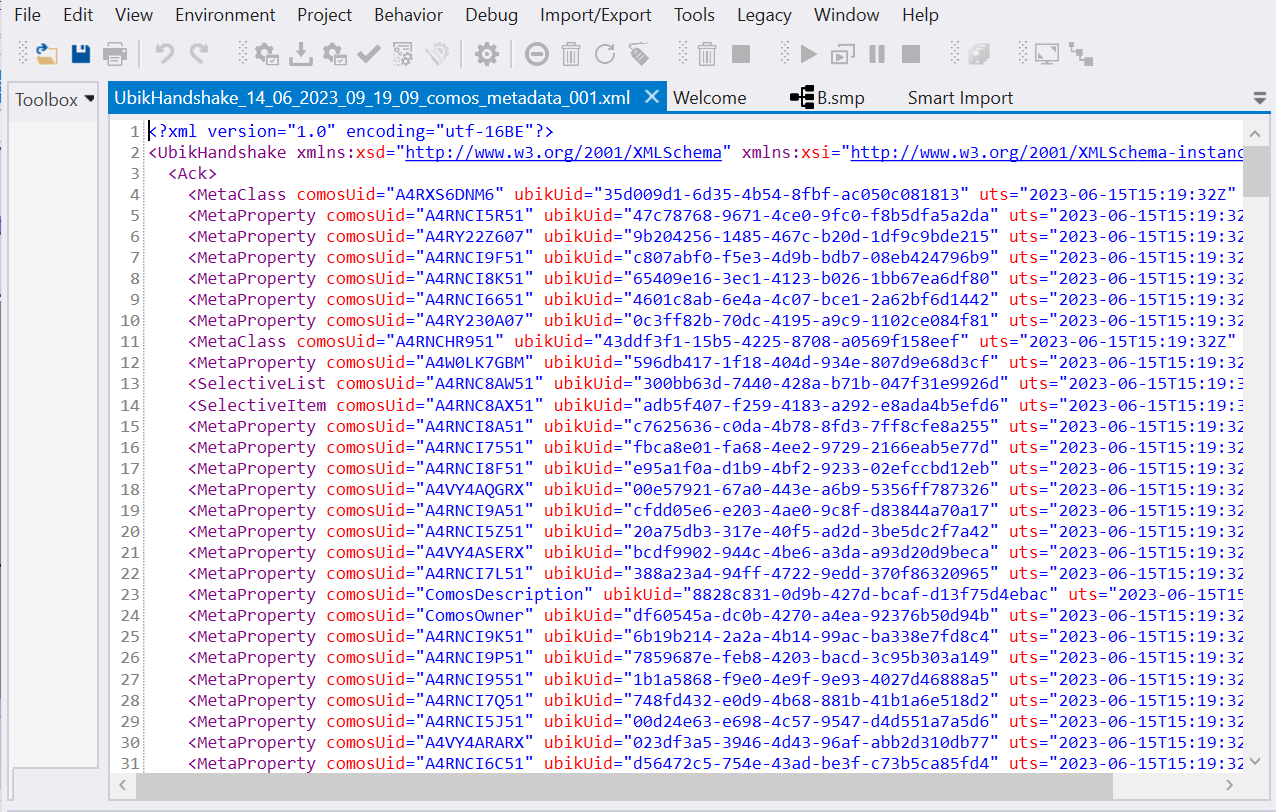
Using the context menu (right-click on the worksheet), you can generate a Comos-UBIK Handshake file. It contains a mapping of the UBIK IDs to the Comos IDs, and can be used to update the Comos-UBIK Interface.

SmartImport CreateHandshake.png SmartImport HandshakeFile.png


See also