Difference between revisions of "HowTo:Find Objects by Optical Codes"
(→Start a scanner) |
|||
| Line 7: | Line 7: | ||
From version 2.4.3 on, the context sensitive action bar doesn't contain the scanning buttons anymore. | From version 2.4.3 on, the context sensitive action bar doesn't contain the scanning buttons anymore. | ||
Instead, the scanning menu can be found in the navigation drawer (to be opened by clicking on the app's icon).}} | Instead, the scanning menu can be found in the navigation drawer (to be opened by clicking on the app's icon).}} | ||
| + | |||
| + | {{attention| | ||
| + | From version 2.4.4 on, the Getac Z710's integrated barcode scanner is used if available. In the default configuration, it makes a very loud beeping sound though. You might want to switch that off in the Getac's settings (not in the UBIK settings - this is outside our control).}} | ||
== Scan an optical code == | == Scan an optical code == | ||
Revision as of 15:24, 22 April 2015
First make sure that a recommended application is installed on the device.
Start a scanner
- Press one of the optical code scanning buttons in the context aware action bar or in the start screen.
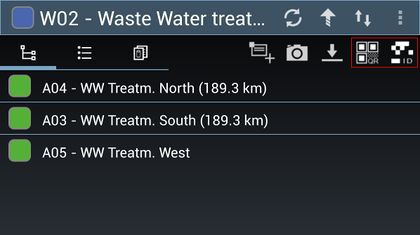
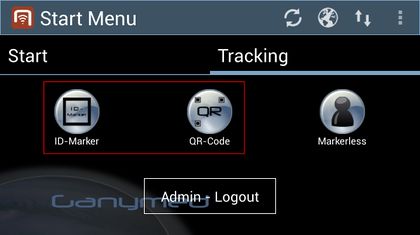
Scan an optical code
- Position the device in a way that the optical code is visible and stable in the camera view;
- Wait until the optical code is recognized by the scanner.
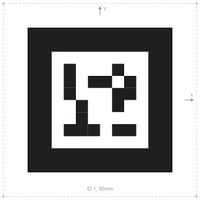
Wait for the search to finish
- Once the scan is finished, wait until the scanner is closed and an empty browser shows up;
- Depending on the network connection and the UBIK® sync mode, different ways of searching will be applied;
- During the search, the list might show a searching text before any objects are found;
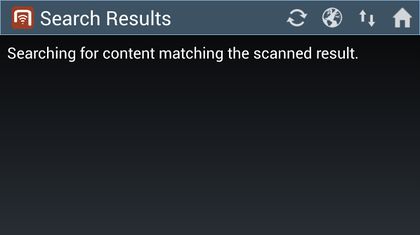
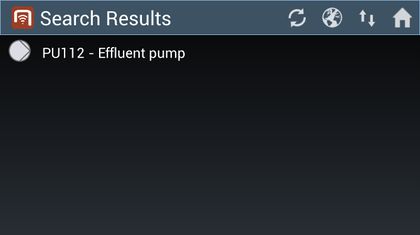
- If any objects are found, they will be added to the list.
