Difference between revisions of "HowTo:Configure Dynamic AR Content"
(→Results) |
|||
| Line 180: | Line 180: | ||
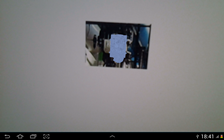
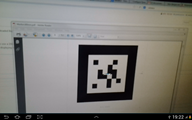
With the existent configuration from the zip file, you should see the following picture when scanning the first id or the first picture: | With the existent configuration from the zip file, you should see the following picture when scanning the first id or the first picture: | ||
| − | :[[File:scanning_id1.png]] <br> | + | :[[File:scanning_id1.png|border]] <br> |
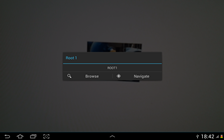
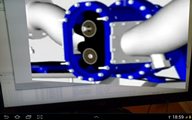
When scanning the second id or the second picture, you should see the following: | When scanning the second id or the second picture, you should see the following: | ||
| − | :[[File:scanning_id2.png]] <br> | + | :[[File:scanning_id2.png|border]] <br> |
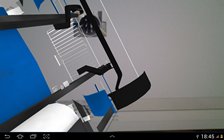
When scanning the sixth id, using the Markerless activity, you should see a play button and, if pressed, a movie. | When scanning the sixth id, using the Markerless activity, you should see a play button and, if pressed, a movie. | ||
* Play button: | * Play button: | ||
| − | :[[File:scanning_id3_play_button.png]] <br> | + | :[[File:scanning_id3_play_button.png|border]] <br> |
* Movie: | * Movie: | ||
| − | :[[File:scanning_id3_movie.png]] <br> | + | :[[File:scanning_id3_movie.png|border]] <br> |
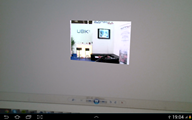
When scanning the sixth id using the IdMarker Activity you should see a play button also and, if pressed, a movie too. | When scanning the sixth id using the IdMarker Activity you should see a play button also and, if pressed, a movie too. | ||
* Play button: | * Play button: | ||
| − | :[[File:scanning_id6_play_button.png]] <br> | + | :[[File:scanning_id6_play_button.png|border]] <br> |
* Movie: | * Movie: | ||
| − | :[[File:scanning_id6_movie.png]] <br> | + | :[[File:scanning_id6_movie.png|border]] <br> |
[[Category:POI]] | [[Category:POI]] | ||
[[Category:Client]] | [[Category:Client]] | ||
[[Category:How-To]] | [[Category:How-To]] | ||
Revision as of 08:48, 24 March 2015
The Dynamic AR Content feature allows the user to see different content according to a marker configuration. The configurable content are 3D objects, movies and UBIK® objects. Currently this feature is enabled for ID Markers and Markerless scanning, meaning image tracking. Therefore, every time the user has scanned an ID marker or a picture, the corresponding object (3D object, movie or UBIK® object) will be processed and, according to the configuration, displayed on the screen.

